How To Properly Position Your Projector Mount For Optimal Viewing
By hqt | 18 4 月 2023
As more people turn their living rooms into home theaters, a projector mount becomes an essential accessory. However, installing the mount is just the beginning – the real challenge is getting the optimal viewing experience.
In this blog post, we’ll discuss how to properly position your projector mount for the best viewing experience.
Proper positioning of your projector mount is essential for achieving the best viewing experience in your home theater. Here are some reasons why:
When you properly position your projector mount, you can avoid image distortion. A poorly positioned mount can cause the image to appear stretched or skewed. This can be distracting and make it difficult to enjoy your favorite movies and shows.
The proper positioning of your projector mount can help you achieve optimal brightness and contrast. This is because the angle of the projector affects the way light is distributed across the screen. With the right angle, you can achieve a bright, clear image that’s easy on the eyes.
When you properly position your projector mount, you can enhance your viewing comfort. This means you can sit back and enjoy your favorite movies and shows without any discomfort. Proper positioning can also help you achieve a more immersive experience, which is essential for home theater enthusiasts.
You’ve got your new projector and you want to mount it. But where? Where do you place your projector mount so that you get the best view possible? When it comes to positioning your projector mount, there are a number of factors that need to be taken into account:
The distance between the projector and the screen should be proportional to the screen size. A general rule of thumb is that the distance should be 1.5 times the screen width for a standard 16:9 aspect ratio.
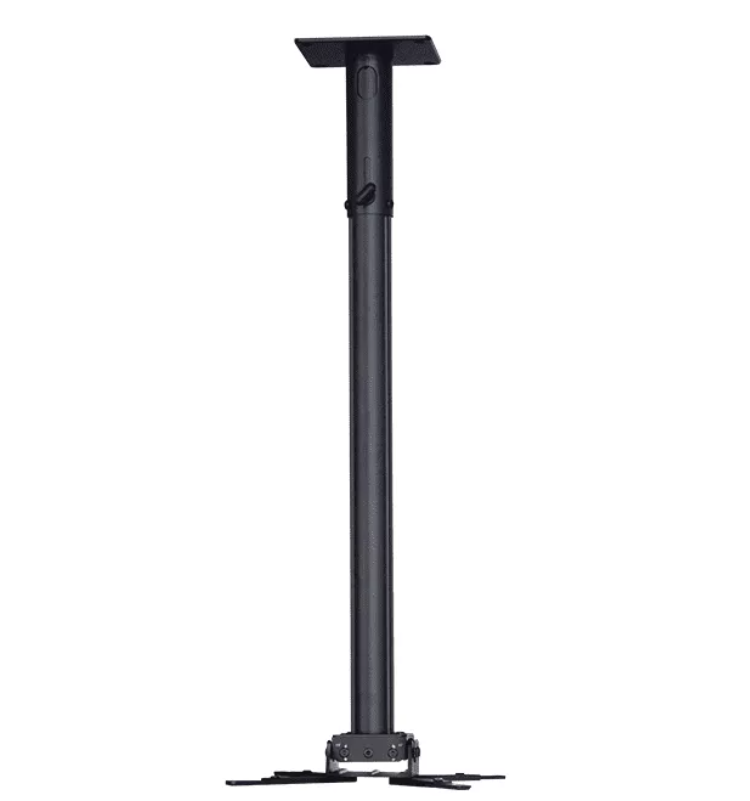
The height of the projector mount determines the height of the projected image. The center of the projected image should be at eye level when seated. To achieve this, the projector mount should be installed at a height that allows for proper adjustment.
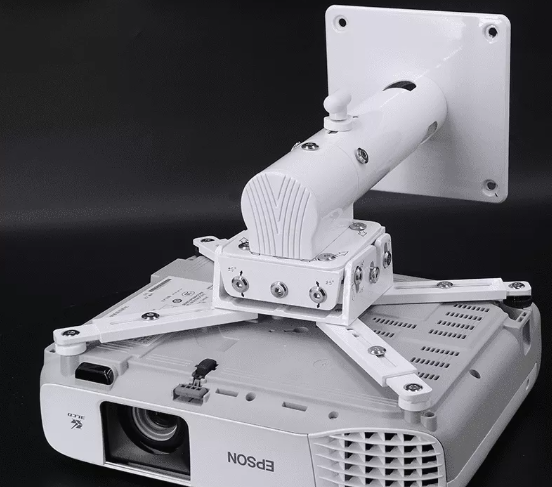
The angle of the projector mount determines the shape of the image. For optimal viewing, the projector should be perpendicular to the screen. This ensures that the image is rectangular and free from distortion.
It is essential to configure a high-quality projector mount to ensure that your projector is securely attached to the ceiling or wall and properly positioned for optimal viewing. Here are some reasons why:

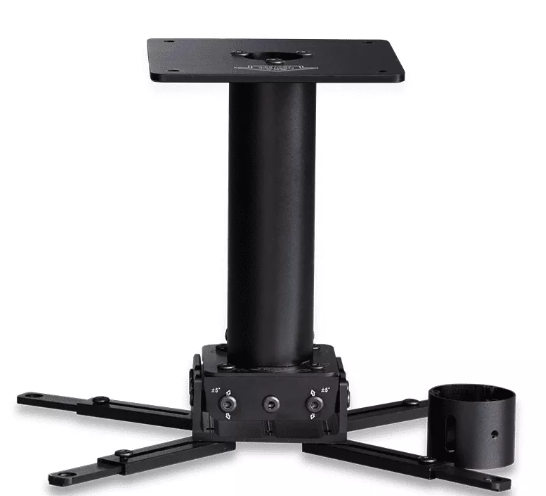
High-quality projector mounts, such as the DJ1 series, are made from durable materials such as steel or aluminum. This ensures that the mount can support the weight of your projector and resist wear and tear over time. Aluminum, in particular, is a good choice for projector mounts because it is lightweight, yet sturdy, and resistant to rust.
Many high-quality projector mounts come with adjustable features such as adjustable arms or tilting mechanisms. These features allow you to fine-tune the position of your projector for optimal viewing. For example, the DJ1 series features adjustable arms that can be helpful if you need to adjust the projector’s angle or distance from the screen.
A high-quality projector mount is designed to be compatible with a range of projectors, so you can choose the model that best fits your needs and be confident that it will work with your equipment. For example, the DJ1 series projector bracket is designed to support projectors of various sizes and weights.

High-quality projector mounts are designed for easy installation, with most models coming with all the necessary mounting hardware and instructions. This can save you time and effort when setting up your projector.
A high-quality projector mount ensures that your projector is properly positioned for optimal viewing. This means that you can enjoy your favorite movies and shows with clarity and ease, without any image distortion or discomfort.
Now that you know the factors to consider, here are some tips for properly positioning your projector mount:
Before installing your projector mount, use a level to ensure that it is straight. A crooked mount can cause uneven projection and image distortion.

Measure the distance between the projector and the screen before installing the mount. This will help you determine the appropriate height for the mount.
Once you’ve determined the appropriate height for the mount, mark the spot where you’ll install it. Use a pencil to mark the spot on the wall or ceiling.
When positioning your projector mount, consider the layout of the room. The mount should be installed in a location that allows for proper adjustment and optimal viewing.
After installing the mount, test the image to ensure that it is rectangular and free from distortion. Make any necessary adjustments to the angle and height of the mount.
To make the process of proper positioning easier, consider using a projector mount with adjustable features, such as the DJ1 series. Many mounts have adjustable height, angle, and tilt features, making it easier to achieve the optimal viewing experience.
Properly positioning your projector mount is essential for achieving the best viewing experience. Configuring a high-quality projector mount is crucial to achieving the best viewing experience in your home theater.
With durable materials, adjustable features, compatibility, easy installation, and optimal positioning, a high-quality projector mount can ensure that your projector is securely attached and positioned for optimal viewing.
So, when choosing a projector mount, consider a high-quality option like the DJ1 series, and enjoy your favorite movies and shows to the fullest.
Related Info
MEMBER
ProductsSUBSCRIBE
Get information of our newest products and promotions
